Demo Issuer
The Demo Issuer is a playground that allows you to create credentials without having to set up an Issuer Node and fetch it inside your wallet.
Prerequisites
Download the Polygon ID Wallet App and create an Identity.
- For Android: Polygon ID on Google Play
- For iOS: Polygon ID on the App Store
Quick Start
To create a credential, you require a schema that contains semantics of the JSON vocabulary and is used to describe a large number of data sets. The schema contains links to JSON-LD Context and JSON URL.
For this tutorial, we will be using a customized Schema named ProofOfDaoLongevity that attests to someone's entryDate inside a DAO. You can find more info about that schema and how to create a custom Schema.
To create a credential, the Polygon ID app must be installed on your mobile.
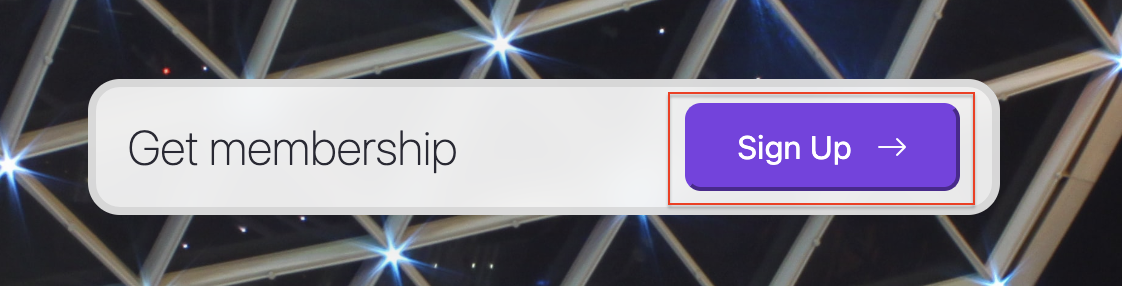
On the Issuer website, click Sign up.
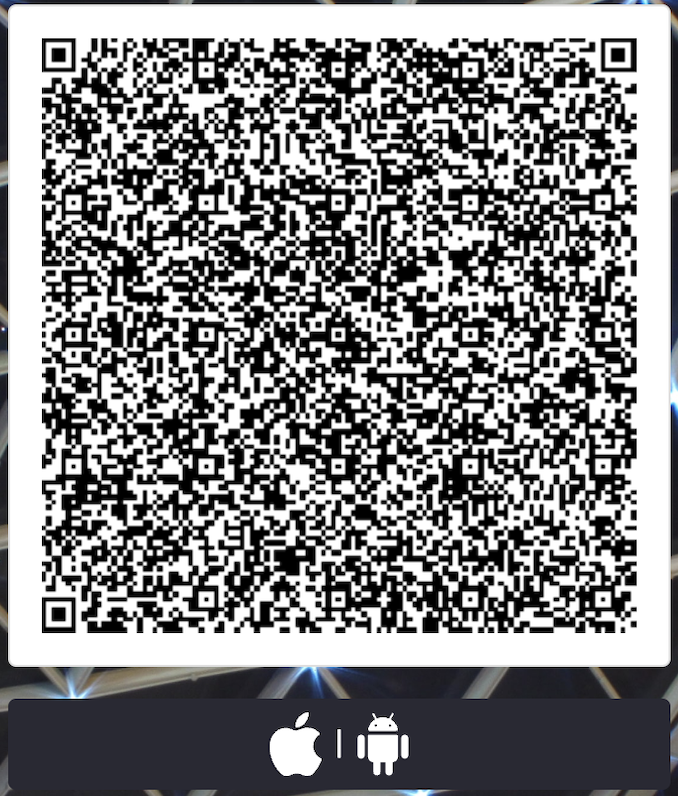
It shows the QR code on screen:
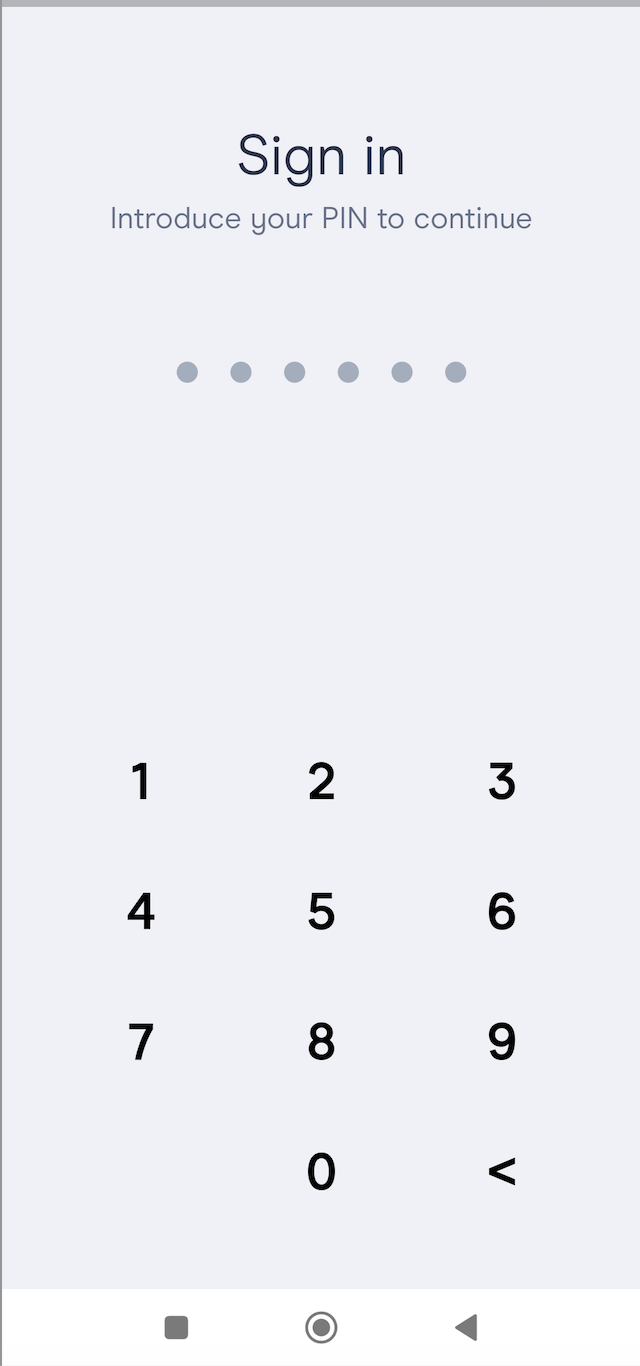
Open the Polygon ID app and authenticate with PIN/Biometrics.
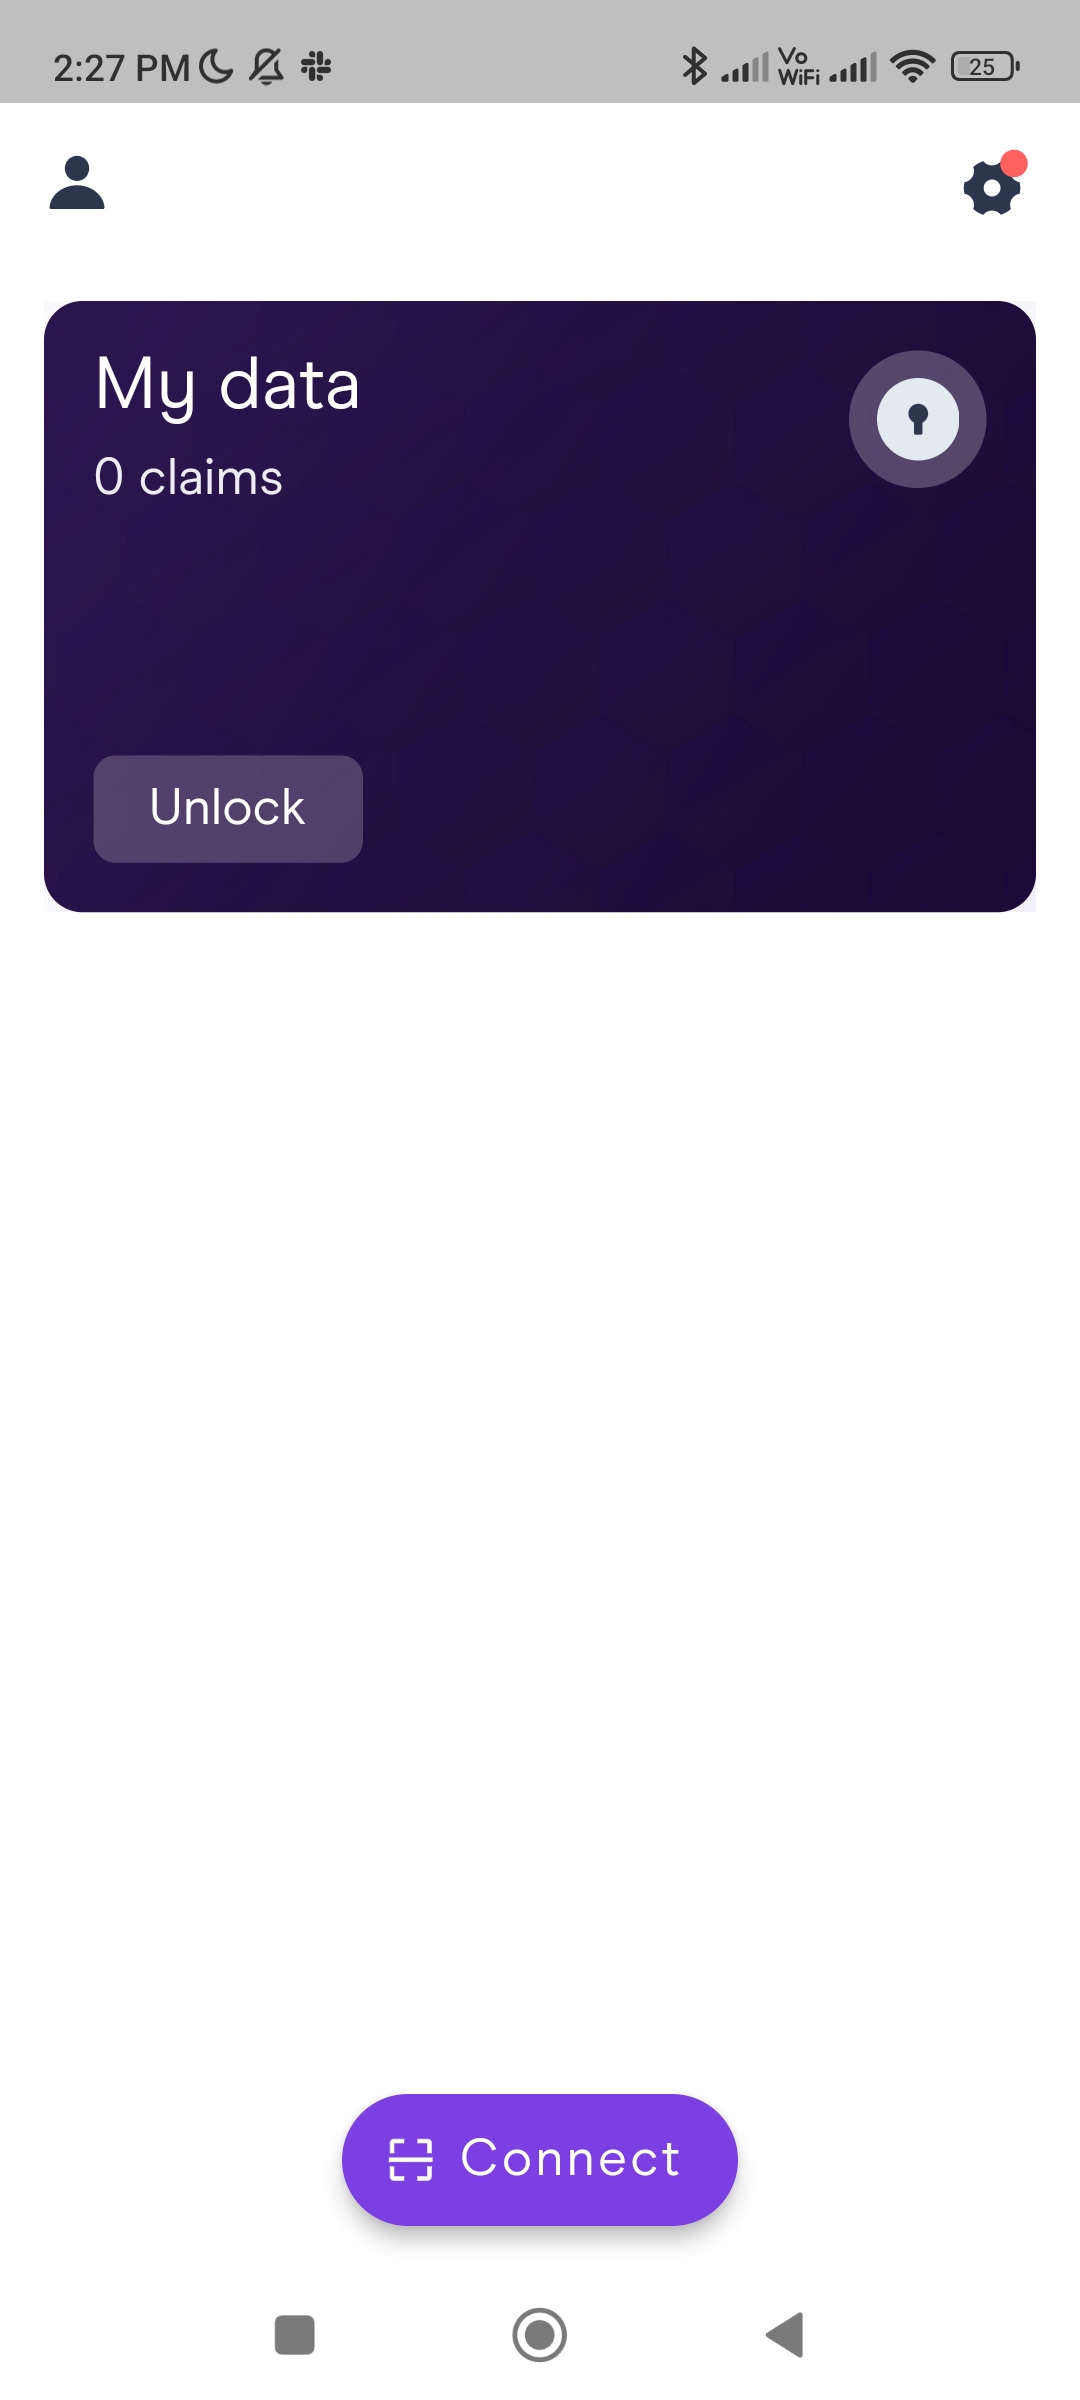
On the app, click Connect.
With the app, scan the QR code displayed on the site and click Connect Wallet.

Authenticate again with your PIN/Biometrics. This starts the authentication of the user's wallet.
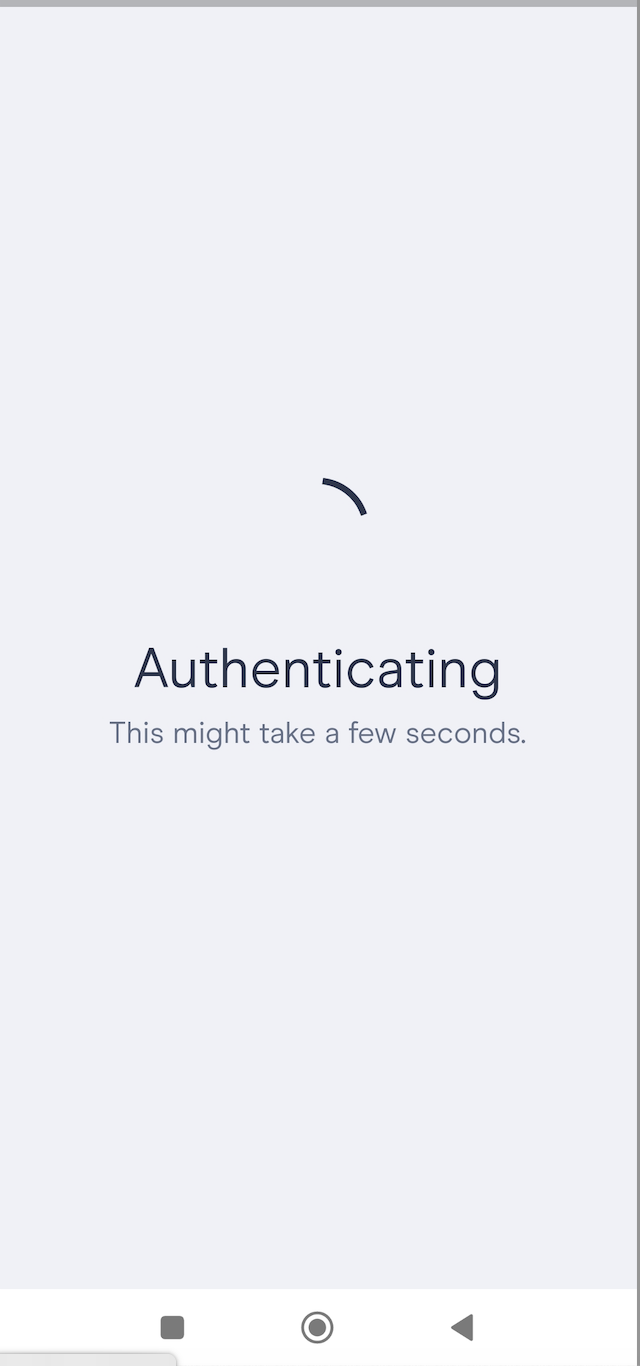
After the authentication process is complete, the app shows the message if the identity is successfully authenticated or if it failed to authenticate.
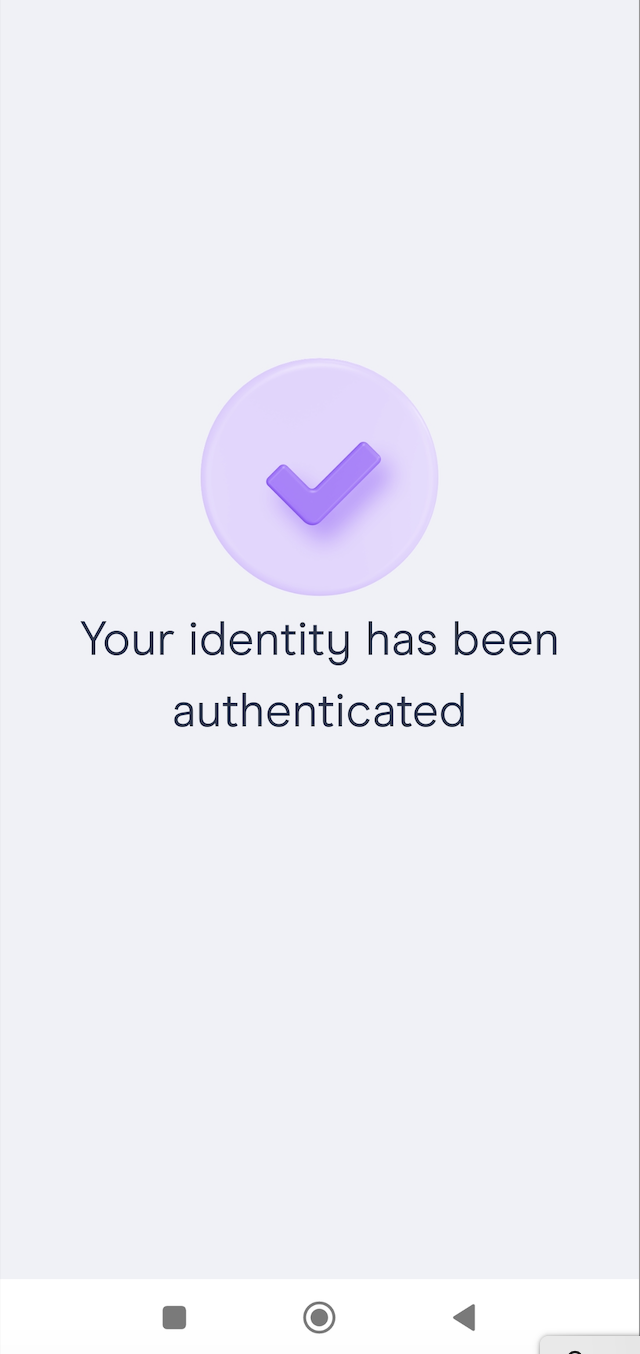
At this point, the Issuer has received information about your Identifier (DID) and can use it as the subject of the credential that will be issued in the next step.
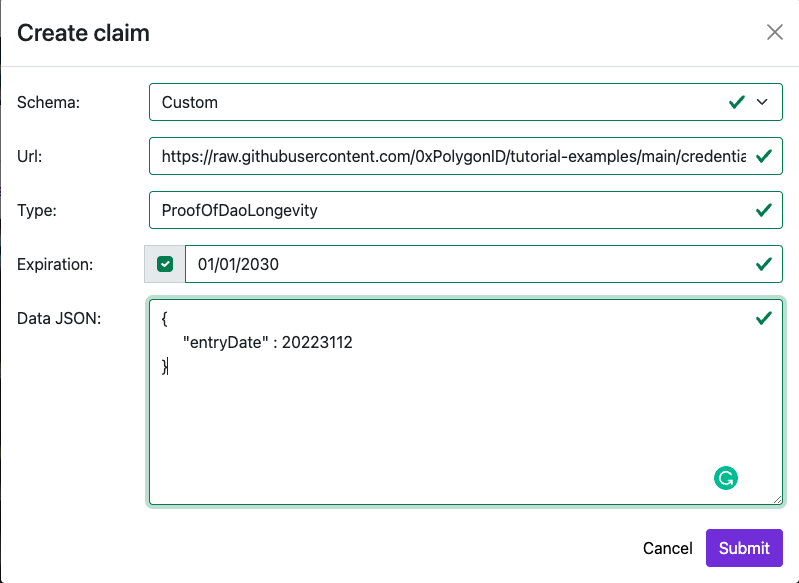
On the website, click on Create Claim.
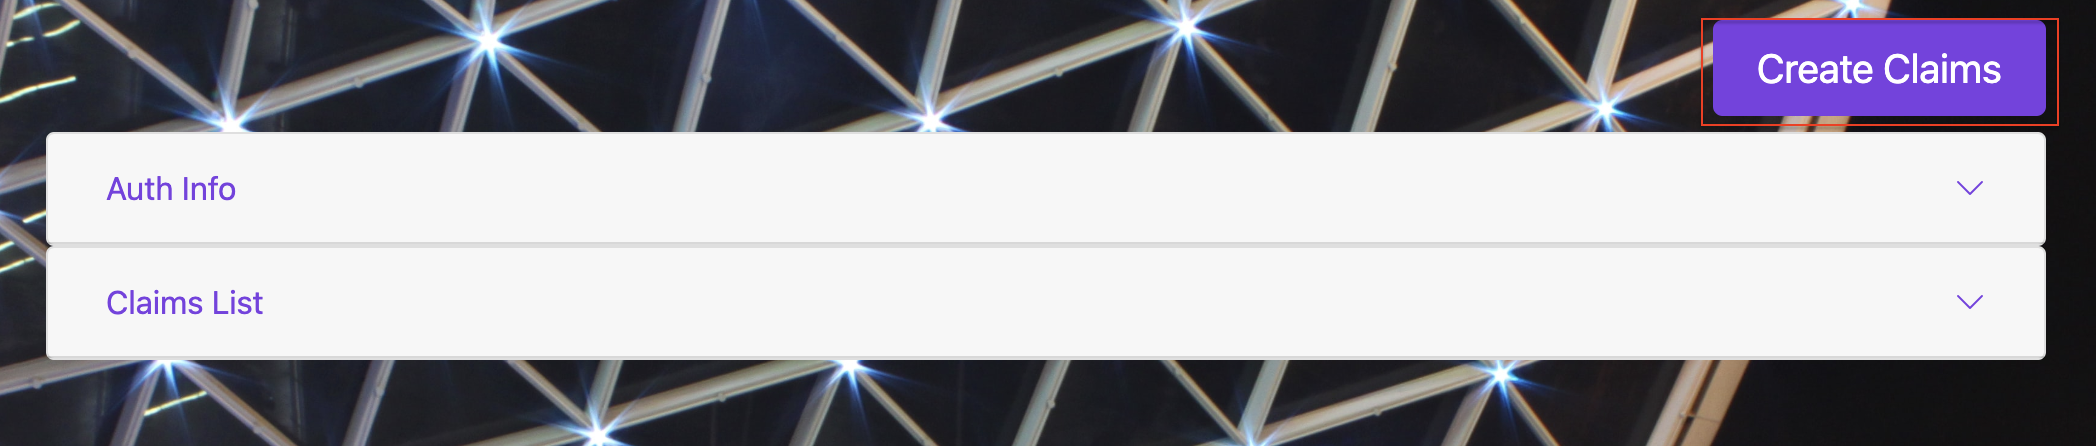
This shows the Create Claim window:
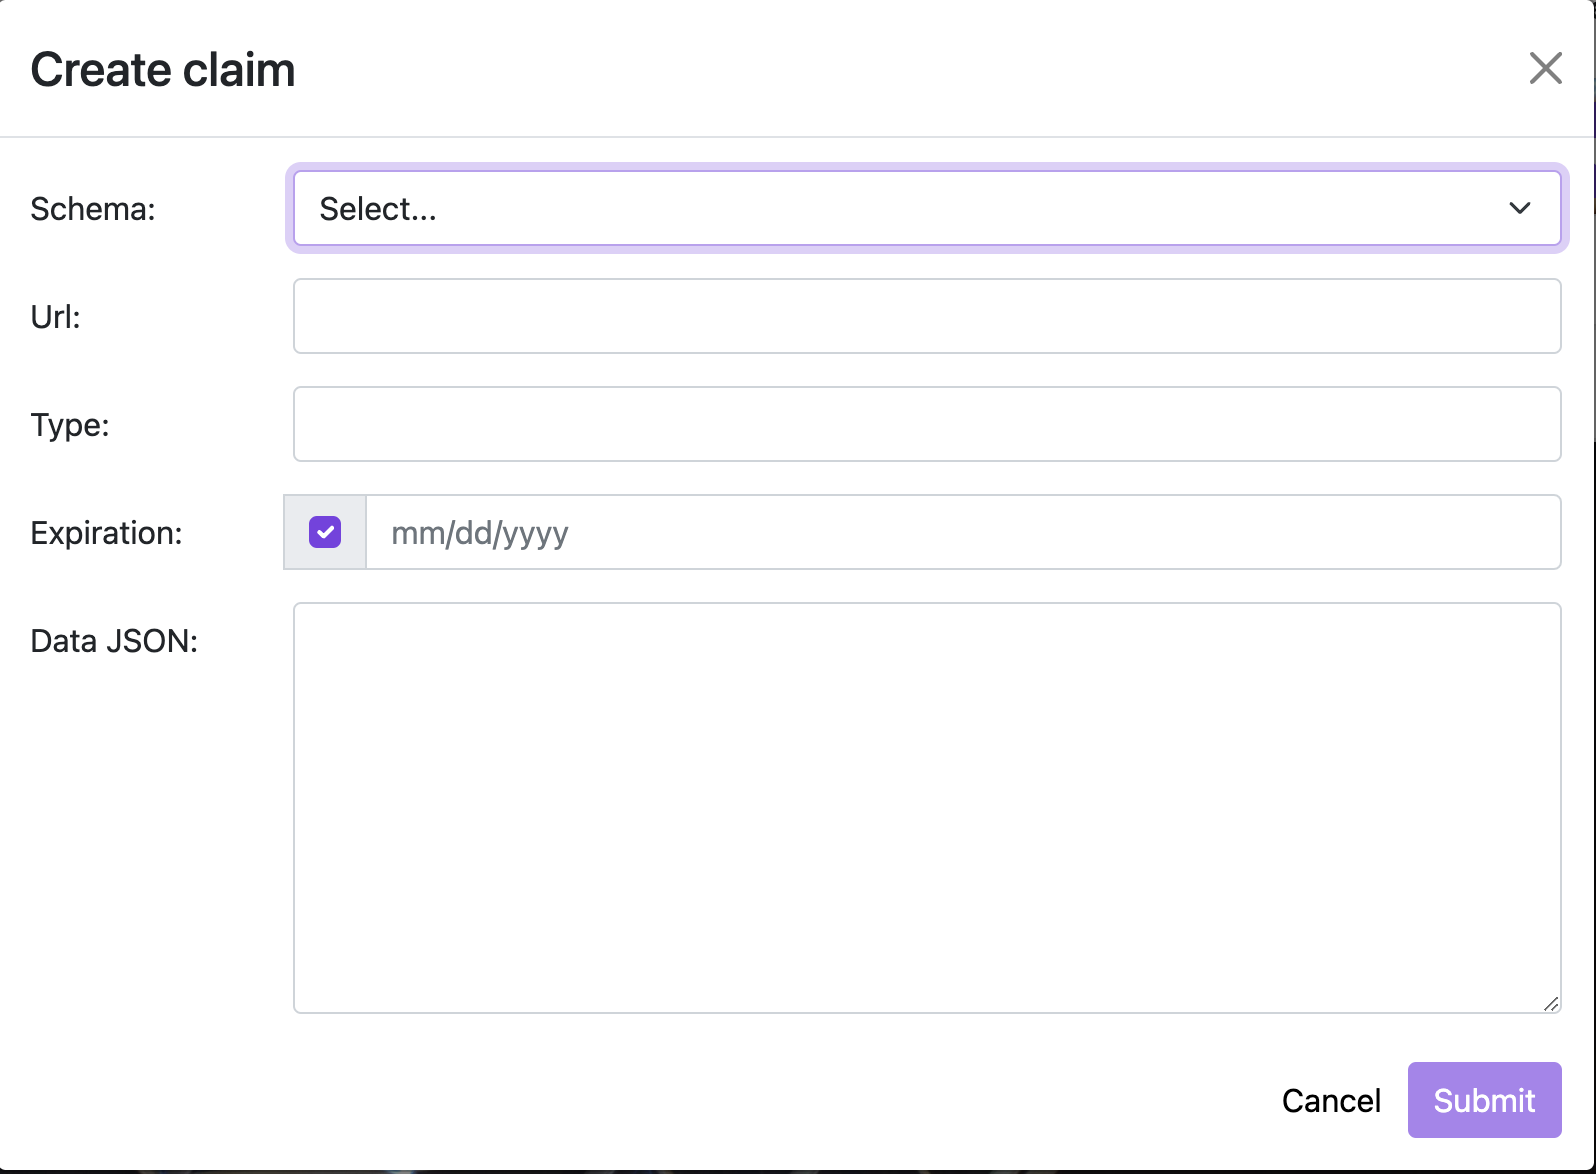
Click on the Schema dropdown menu and select the type of schema you want to use for creating credentials.
Two schemas types are already available in the drop-down menu: KYCAgeCredential and KYCCountryOfResidenceCredential.
If you want to use a custom schema, select Custom from the drop-down menu.
For this example, we are using the
ProofOfDaoLongevityschema created in the Create Custom Schemas tutorial.The menu needs to be populated with the JSON Schema URL and the Type of the schema. Which in this case are:
https://raw.githubusercontent.com/0xPolygonID/tutorial-examples/main/credential-schema/proof-of-dao-longevity.jsonProofOfDaoLongevity
The expiration date sets the date on which the credential will expire.
The Data JSON contains the actual data that the credential is attesting to. In this case, the credential contains a single field
entryDatethat needs to be populated with the date the user joined the DAO.Once filled up, click Submit.
This creates a new credential. Scan the QR code from the wallet app to fetch the credential in the wallet.

Once a credential is created, you can view it on the Issuer site. For this, click the icon to open and view the credential.
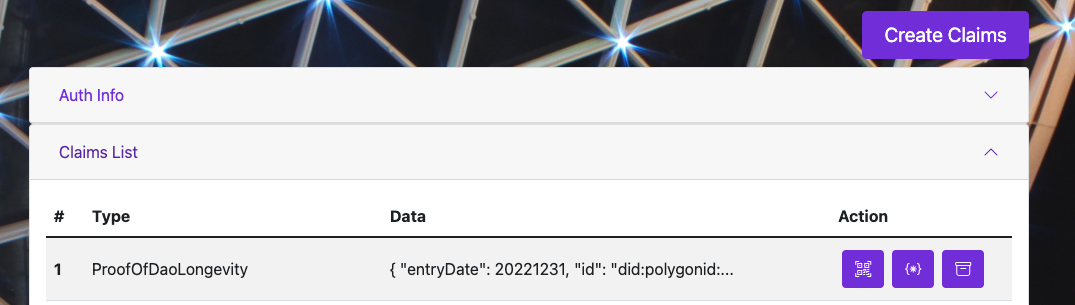
This shows all the information related to a credential; this includes:
- @Context (JSON-LD Schema) and CredentialSchema (JSON) URLs
- credentialStatus: URL to fetch the Revocation status of the credential from the Issuer along with the revocation nonce.
- credentialSubject: Information related to the Subject of the Credential. In this example, this includes subject's
entryDateand id of the Subject in thedidformat. - Other information such as expiration date of the credential, issuance date, and ID of the Issuer in the
didformat. - Proof which includes information such as state of the issuer identity published on-chain, the non-revocation proof for the authorization claim, and the actual credential signed by the Issuer.