Tutorial
Currently, we have two approaches to issuing on-chain credentials: on-chain merklized issuer and on-chain non-merklized issuer. The difference between these two approaches:
The on-chain merklized issuer calculates the Merkle root for a credential on the backend and stores the core claim of the credential on-chain using a smart contract, because merklization process is too expensive to do in a smart contract by the user. Credential data and metadata can stay private on issuer side and only hash of the credential will be published on chain. We can think of it as a centralized issuer with the ability to store trees on the blockchain.
The on-chain non-merklized issuer can use information from the blockchain (such as balance, token ownership, etc.) to issue a credential directly on the blockchain. This approach is decentralized and trustless - no need to trust an issuer to act honestly, because it's enforced by the smart contract and auditable on chain. But it comes with a few limitations: max 4 data fields in the credential and data is public. More about non-merklized credentials.
This guide presents an example of how to use the on-chain merklized issuer. We created a small application, where we communicate with Metamask to retrieve the user's balance and a claim about this balance is generated via the on-chain issuer. In this case, the credential will be created locally and stored to on-chain issuer.
There are two main components in this application:
Requirements:
- Node js => 18.x
- Go => 1.20.x
- npm => 9.x.x
- docker => 20.x
- docker-compose => 2.23.x
- Polygon ID wallet app
- Ngrok
How to run the On-chain Issuer
Clone this repository:
git clone https://github.com/0xPolygonID/onchain-merklized-issuer-demoDeploy an on-chain merklized issuer contract. You can use this sample or create your own smart contract with custom logic.
Clone smart contracts repository:
git clone https://github.com/0xPolygonID/contracts.gitDeploy Identity Example contract:
export AMOY_PRIVATE_KEY={private_key} && \
export AMOY_RPC_URL={rpc_url} && \
npx hardhat run scripts/deployIdentityExample.ts --network amoy
You can find more information on how to deploy a smart contract using Hardhat in this readme.
Use the utility to calculate the issuerDID from the smart contract address:
go run utils/convertor.go --contract_address=<ADDRESS_OF_IDENTITY_DEPLOYED_CONTRACT>Run ngrok on 8080 port.
ngrok http 8080Fill the .env config file with the proper variables:
- Polygon Amoy
- Polygon Main
SUPPORTED_RPC="80002=<RPC_POLYGON_AMOY>"
ISSUERS_PRIVATE_KEY="<ISSUER_DID>=<PRIVATE_KEY_OF_THE_CONTRACT_DEPLOYER>"
EXTERNAL_HOST="<NGROK_URL>"
SUPPORTED_STATE_CONTRACTS="80002=0x1a4cC30f2aA0377b0c3bc9848766D90cb4404124"
SUPPORTED_RPC="137=<RPC_POLYGON_MAIN>"
ISSUERS_PRIVATE_KEY="<ISSUER_DID>=<PRIVATE_KEY_OF_THE_CONTRACT_DEPLOYER>"
EXTERNAL_HOST="<NGROK_URL>"
SUPPORTED_STATE_CONTRACTS="137=0x624ce98D2d27b20b8f8d521723Df8fC4db71D79D"
Run docker-compose:
docker-compose build
docker-compose up -d
Go to: http://localhost:3000
Don't forget to download and install the Polygon ID wallet app before you go the next steps.
- For Android: Polygon ID on Google Play
- For iOS: Polygon ID on the App Store
Issue and fetch credential
Open
http://localhost:3000.Select an issuer:

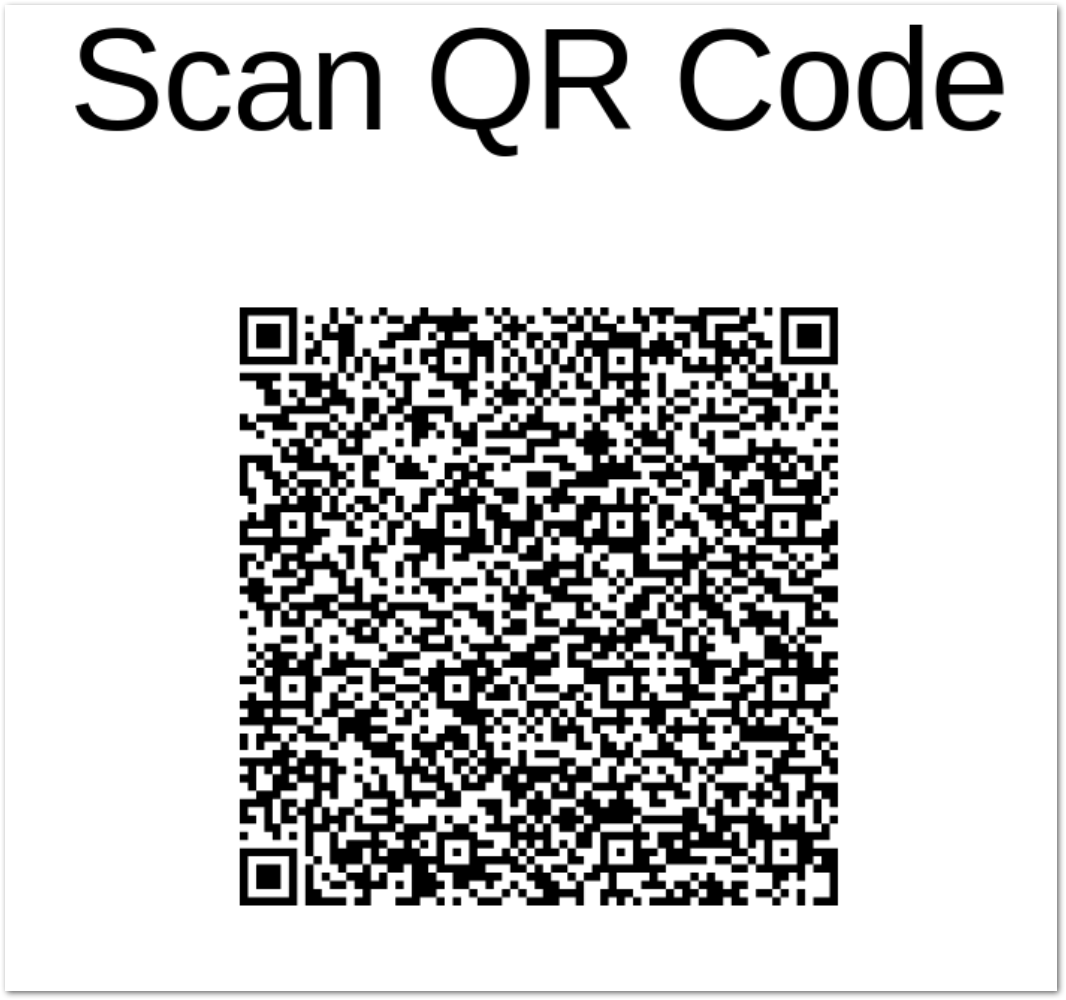
- Scan the QR code with your Polygon ID wallet app and follow the instructions on the application.
- You will see your DID and now you can connect to MetaMask. Follow the flow on the MetaMask app.

- The on-chain issuer application will now display your account. You can get your balance in gwei.

- The account balance will be shown in gwei together with some other information about the claim.

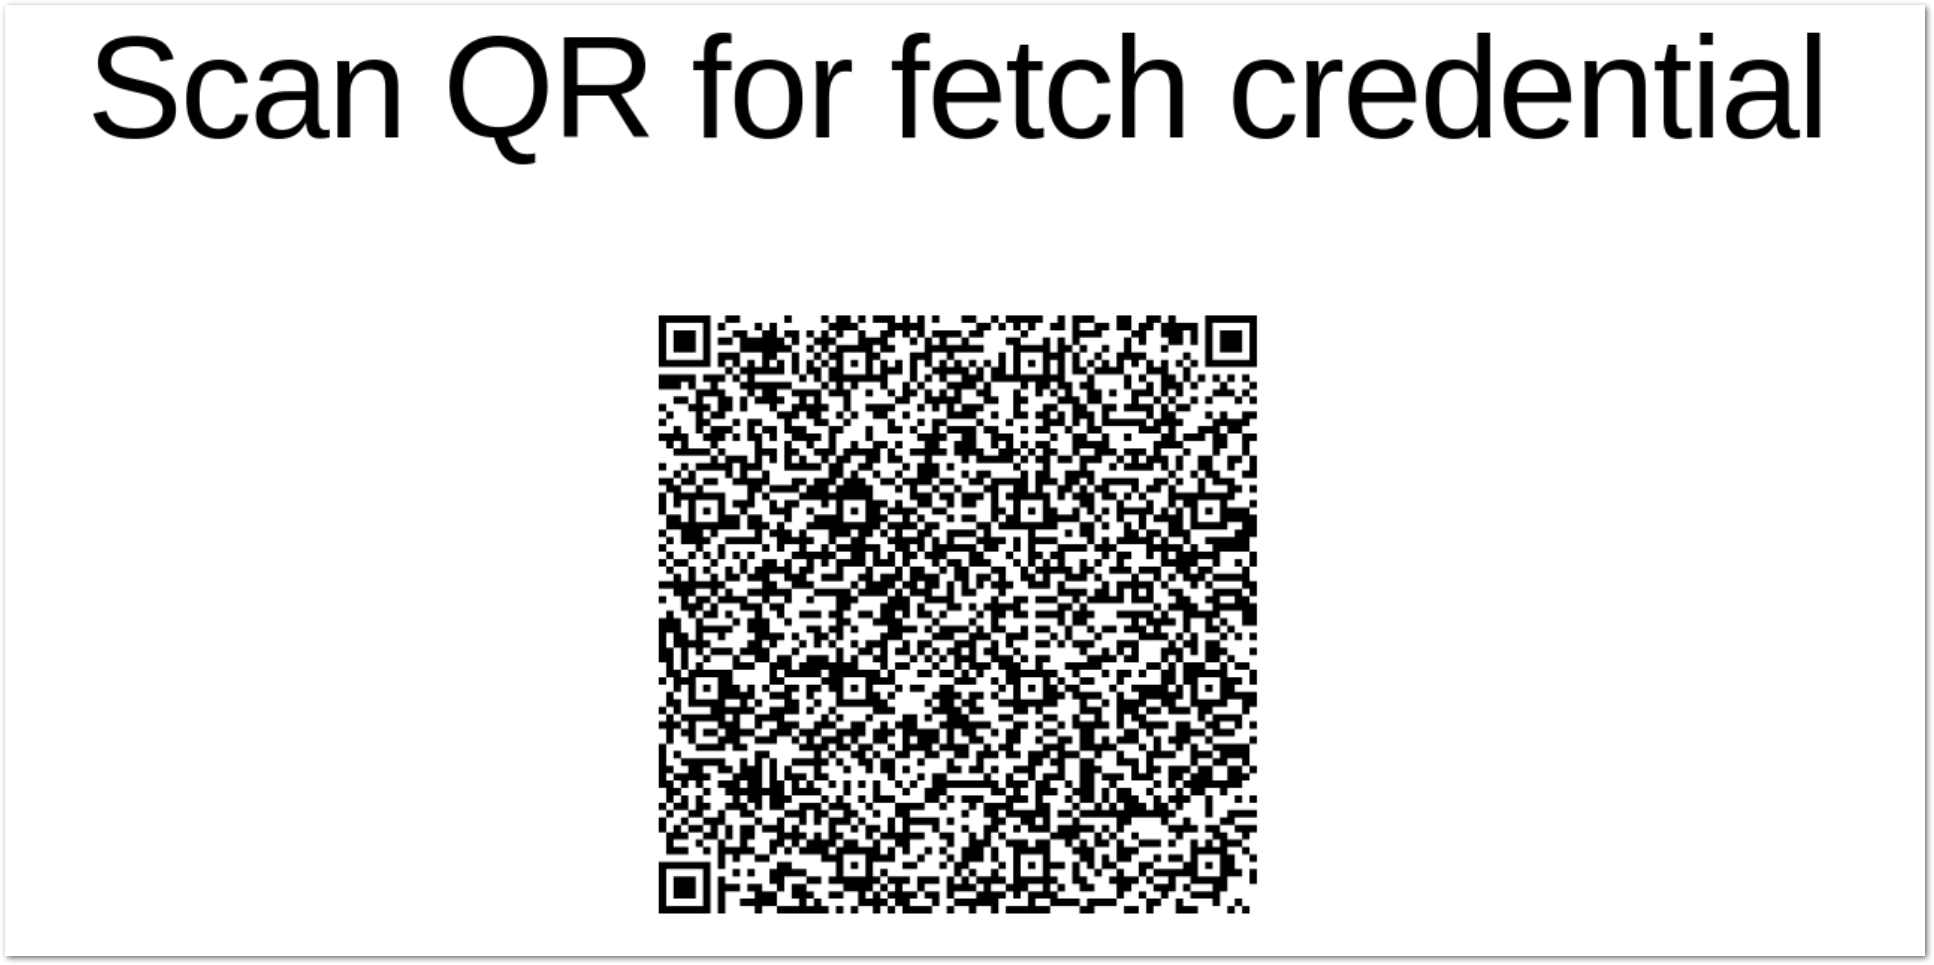
- Clicking on Get Claim will finally lead to the QR Code used to fetch the credential with MTP proof. Here we are making a request to the on-chain issuer node. This node then saves this claim in a contract address. Scan it with the Polygon ID wallet.
- Clicking on Accept should add the credential to the mobile app.
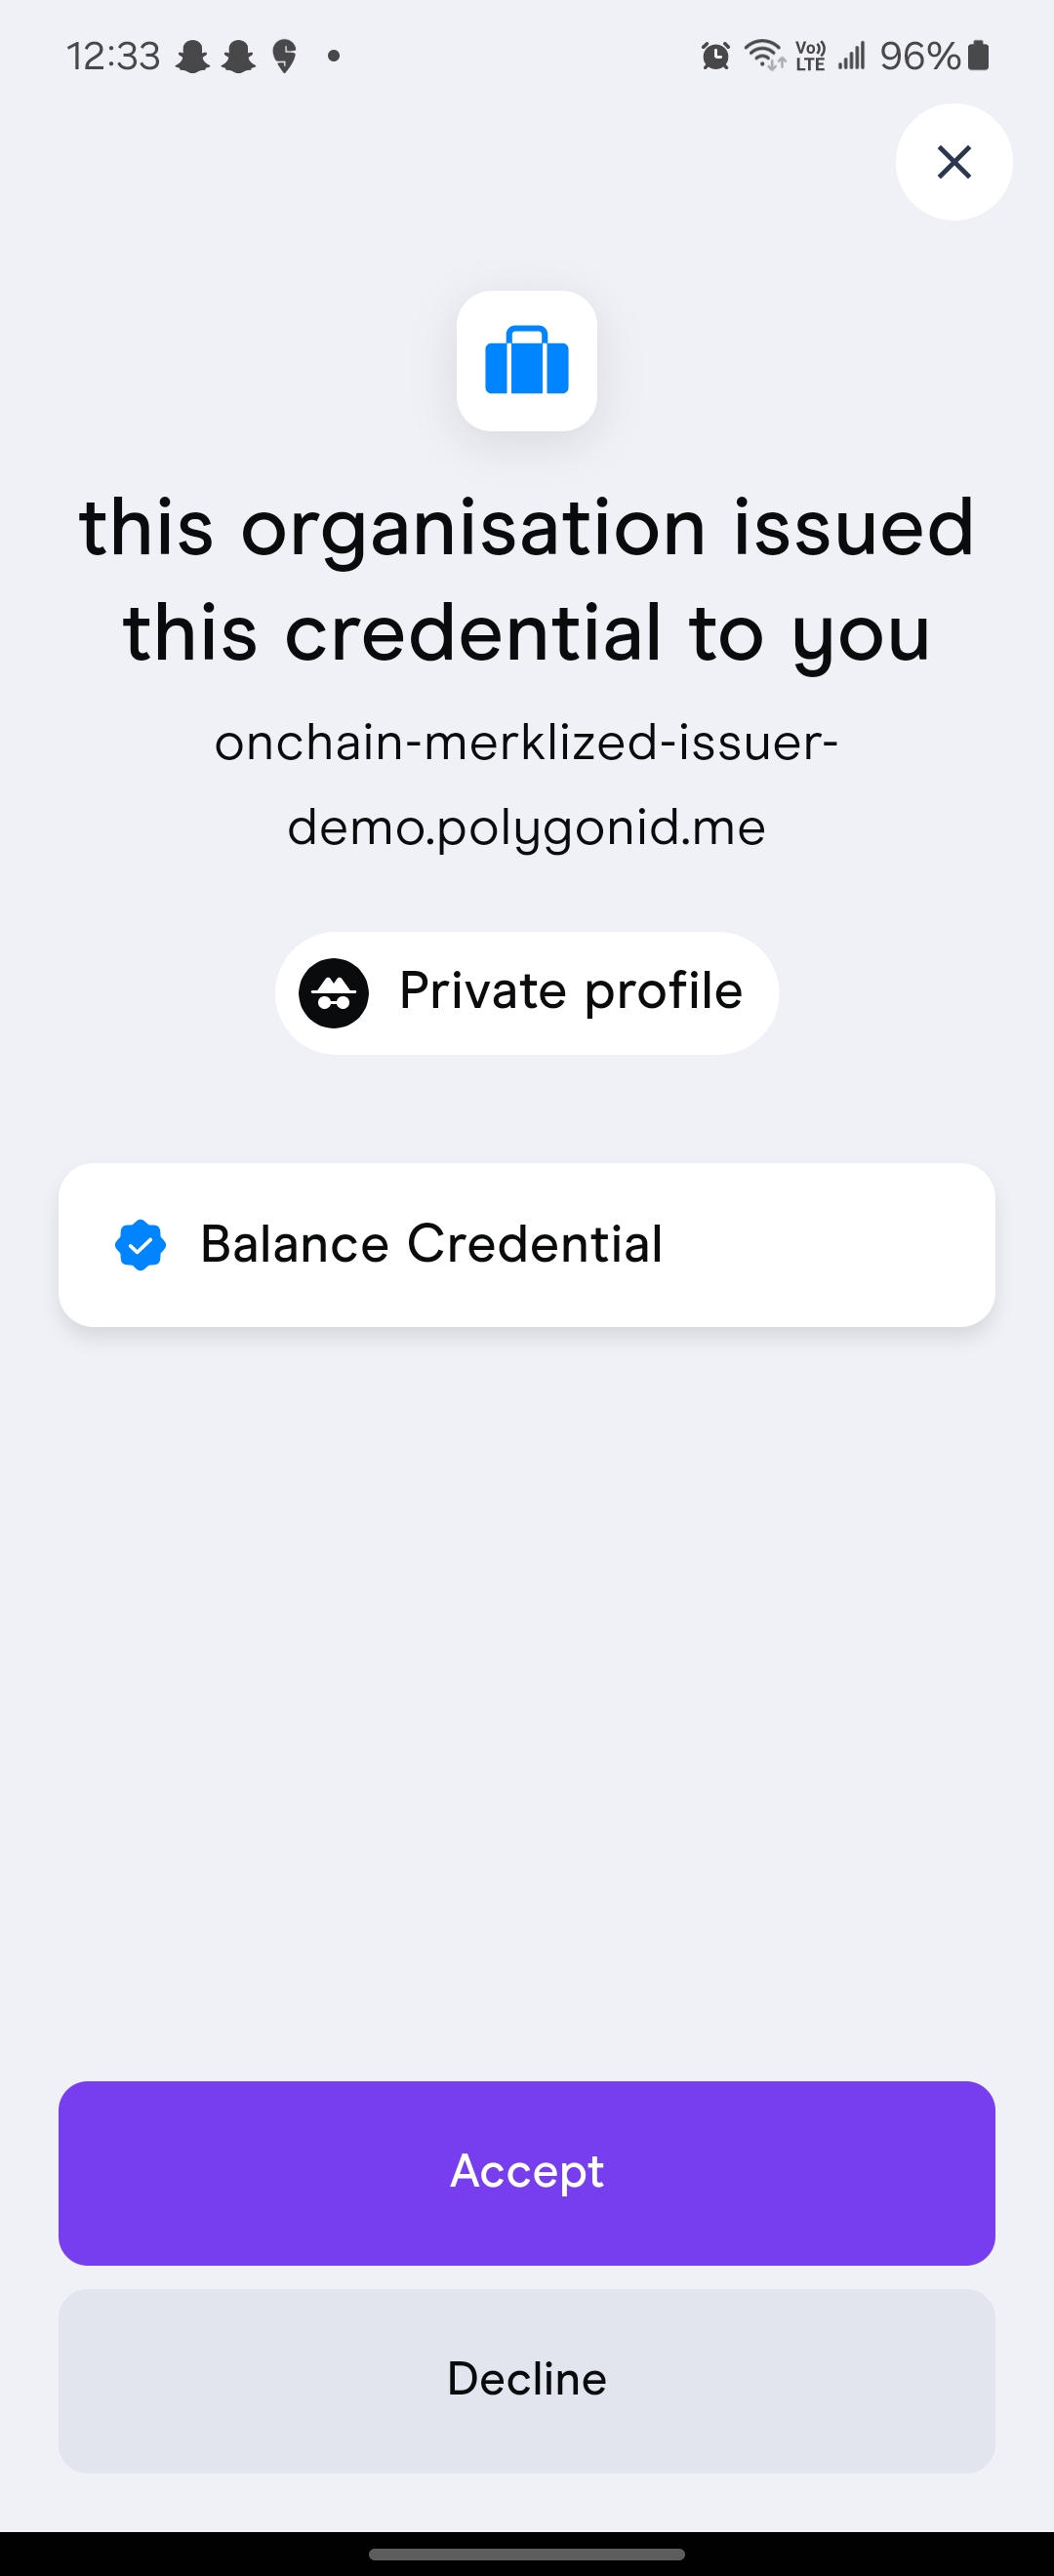
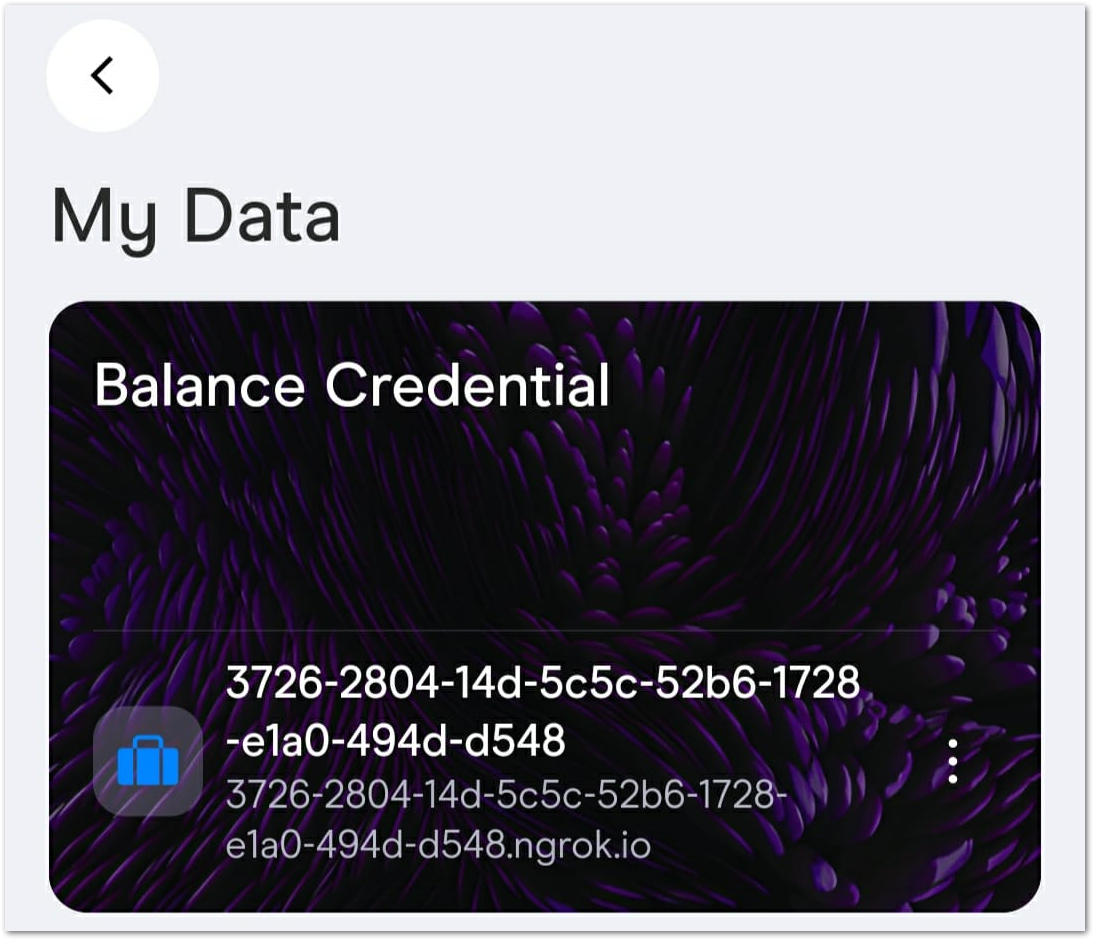
Here is the credential on the mobile app:
Use already deployed demo
You can use already deployed demos:
How to verify the balance claim
Visit the Query builder website.
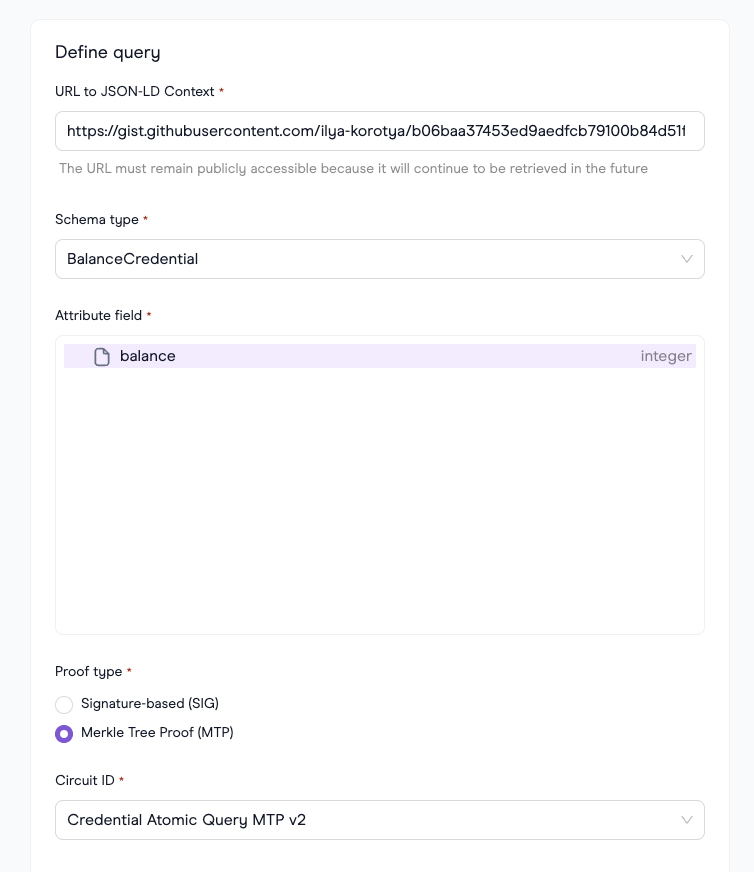
You now need to define the query.
Verify credential from onchain merklized issuer:
- URL: ipfs://QmbbTKPTJy5zpS2aWBRps1duU8V3zC84jthpWDXE9mLHBX (Schema builder link)
- Schema type: BalanceCredential
- Attribute field: balance
Here is an example:
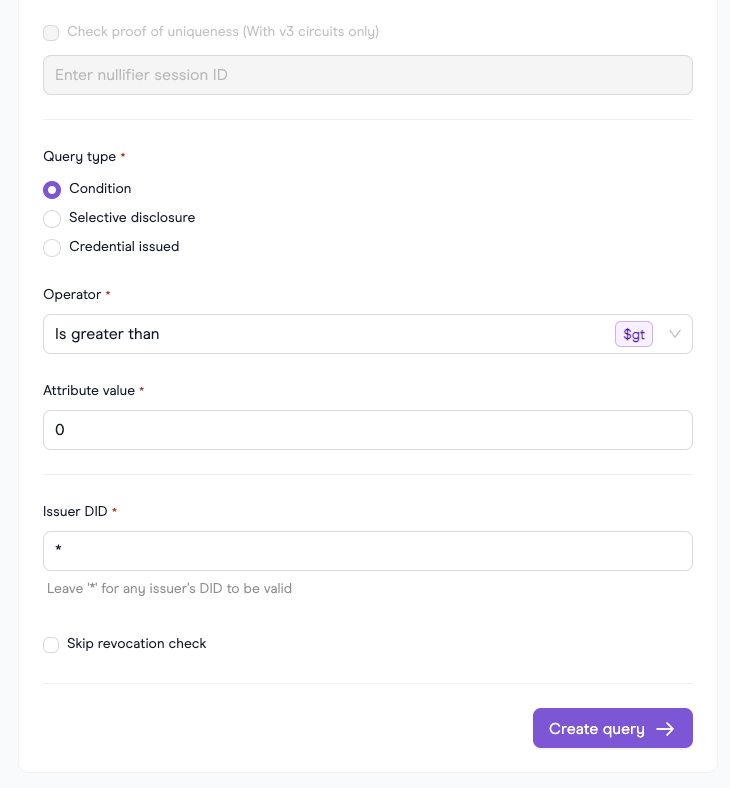
Click Create Query. Now select the Network as Polygon Amoy (testnet) and click Test query which should result with a QR code. Scan and follow the instructions on the mobile app.
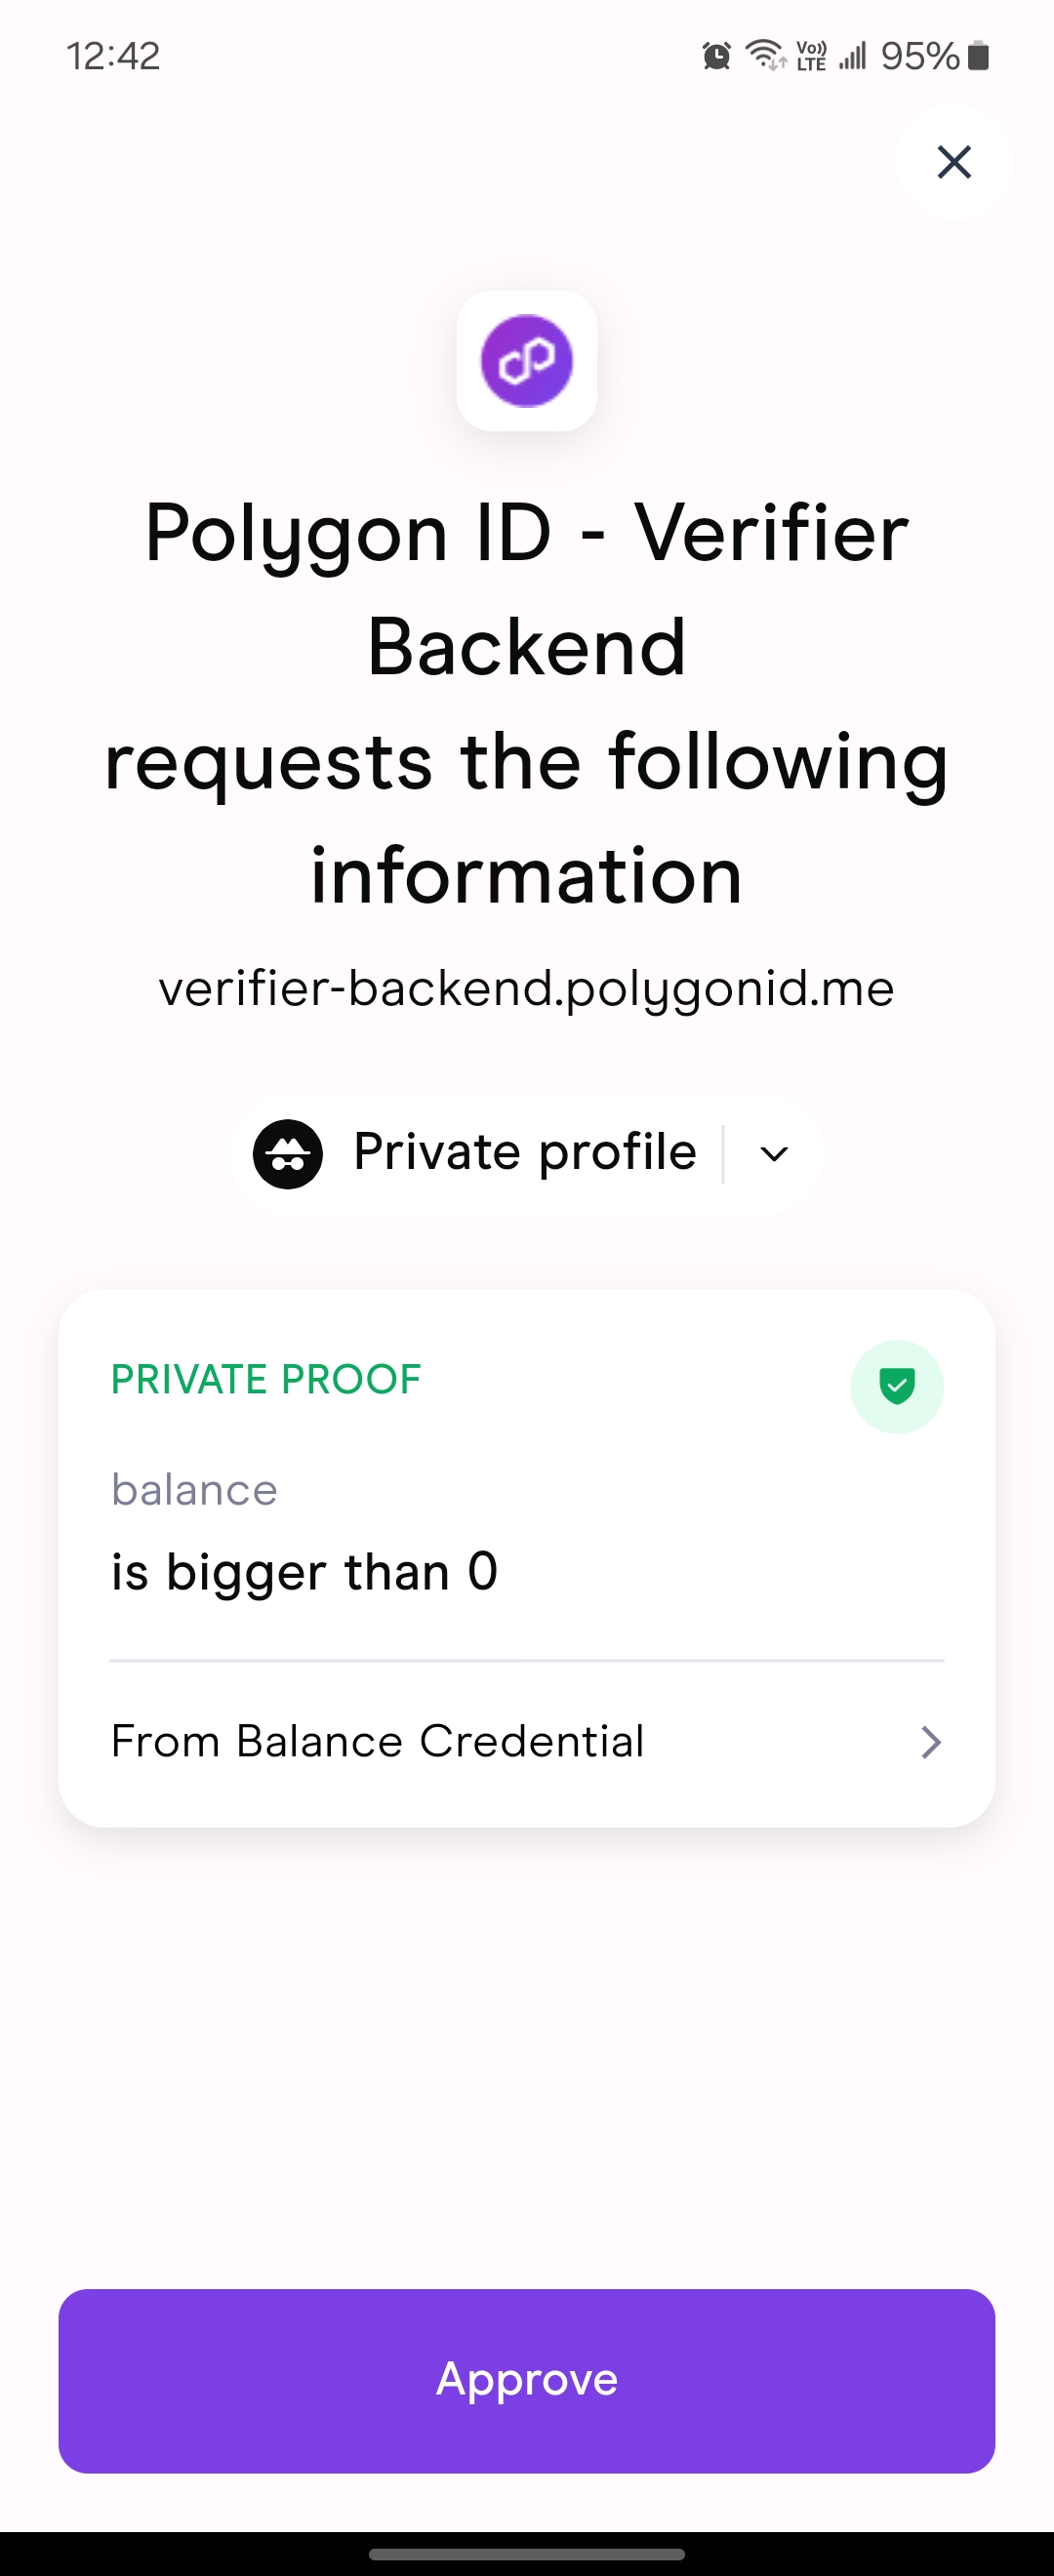
- Click on Approve. After which, the process of generating the proof is starts:
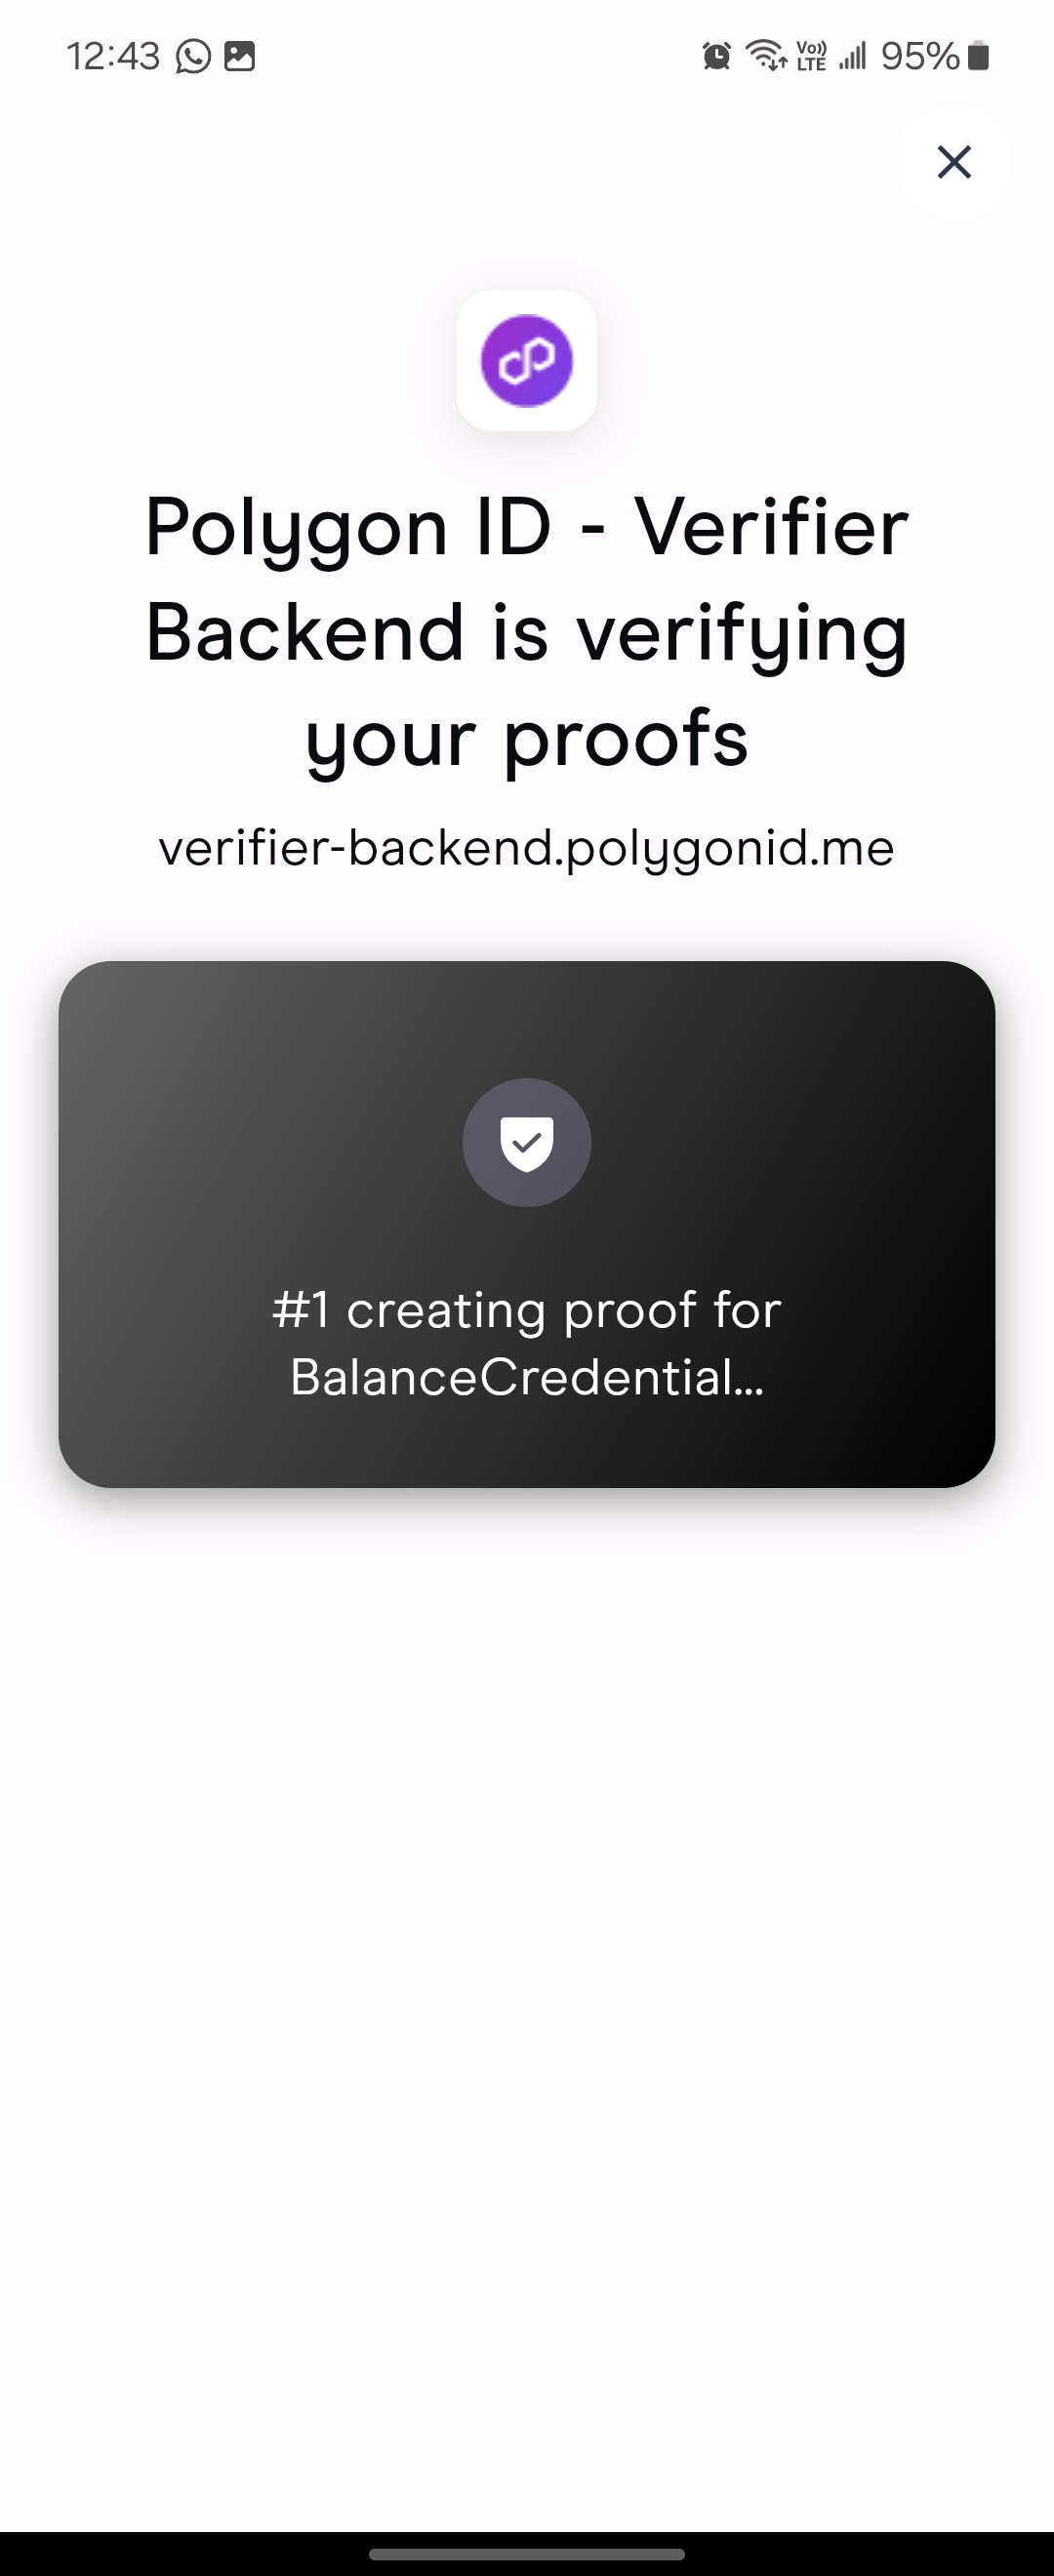
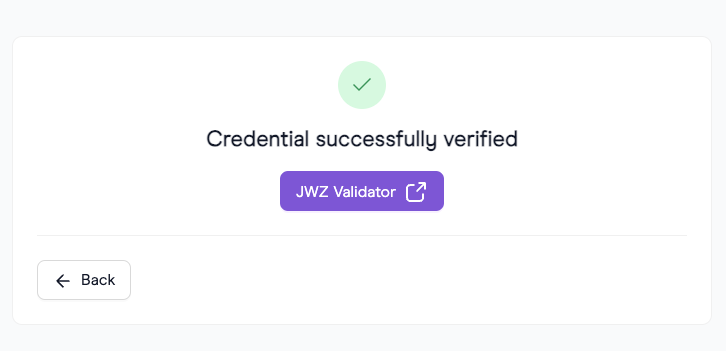
5.Finally, the proof is generated. The verifier will check the revocation status and some additional information. The proof is then sent and validated by the verifier. You will receive the following response on the Query builder website
