Set up the Issuer UI
This article details the steps to achieve full integration of the Issuer Node with the Privado ID APIs, as well as instructs on how to set up an intuitive user interface to manage credentials.
The content of the QR code provided by the Issuer or Verifier has changed since the release 2.3.0 of the Issuer node. Instead of sending the JSON information through the QR code, now we provide an embedded link to a page where this JSON is hosted, which improves the application performance. Please check the IDEN3MESSAGE_PARSER.md file for more information on how to parse the new QR code content.
Docker Mode Guide
For either one, you first have to clone the repository.
Requirements
- Have followed the Core-API Standalone Mode Guide.
Setup
Env file configuration, copy
ui.env.sampleas.env-ui:Run the Issuer Node UI:
make run-all
UI - http://localhost:8088
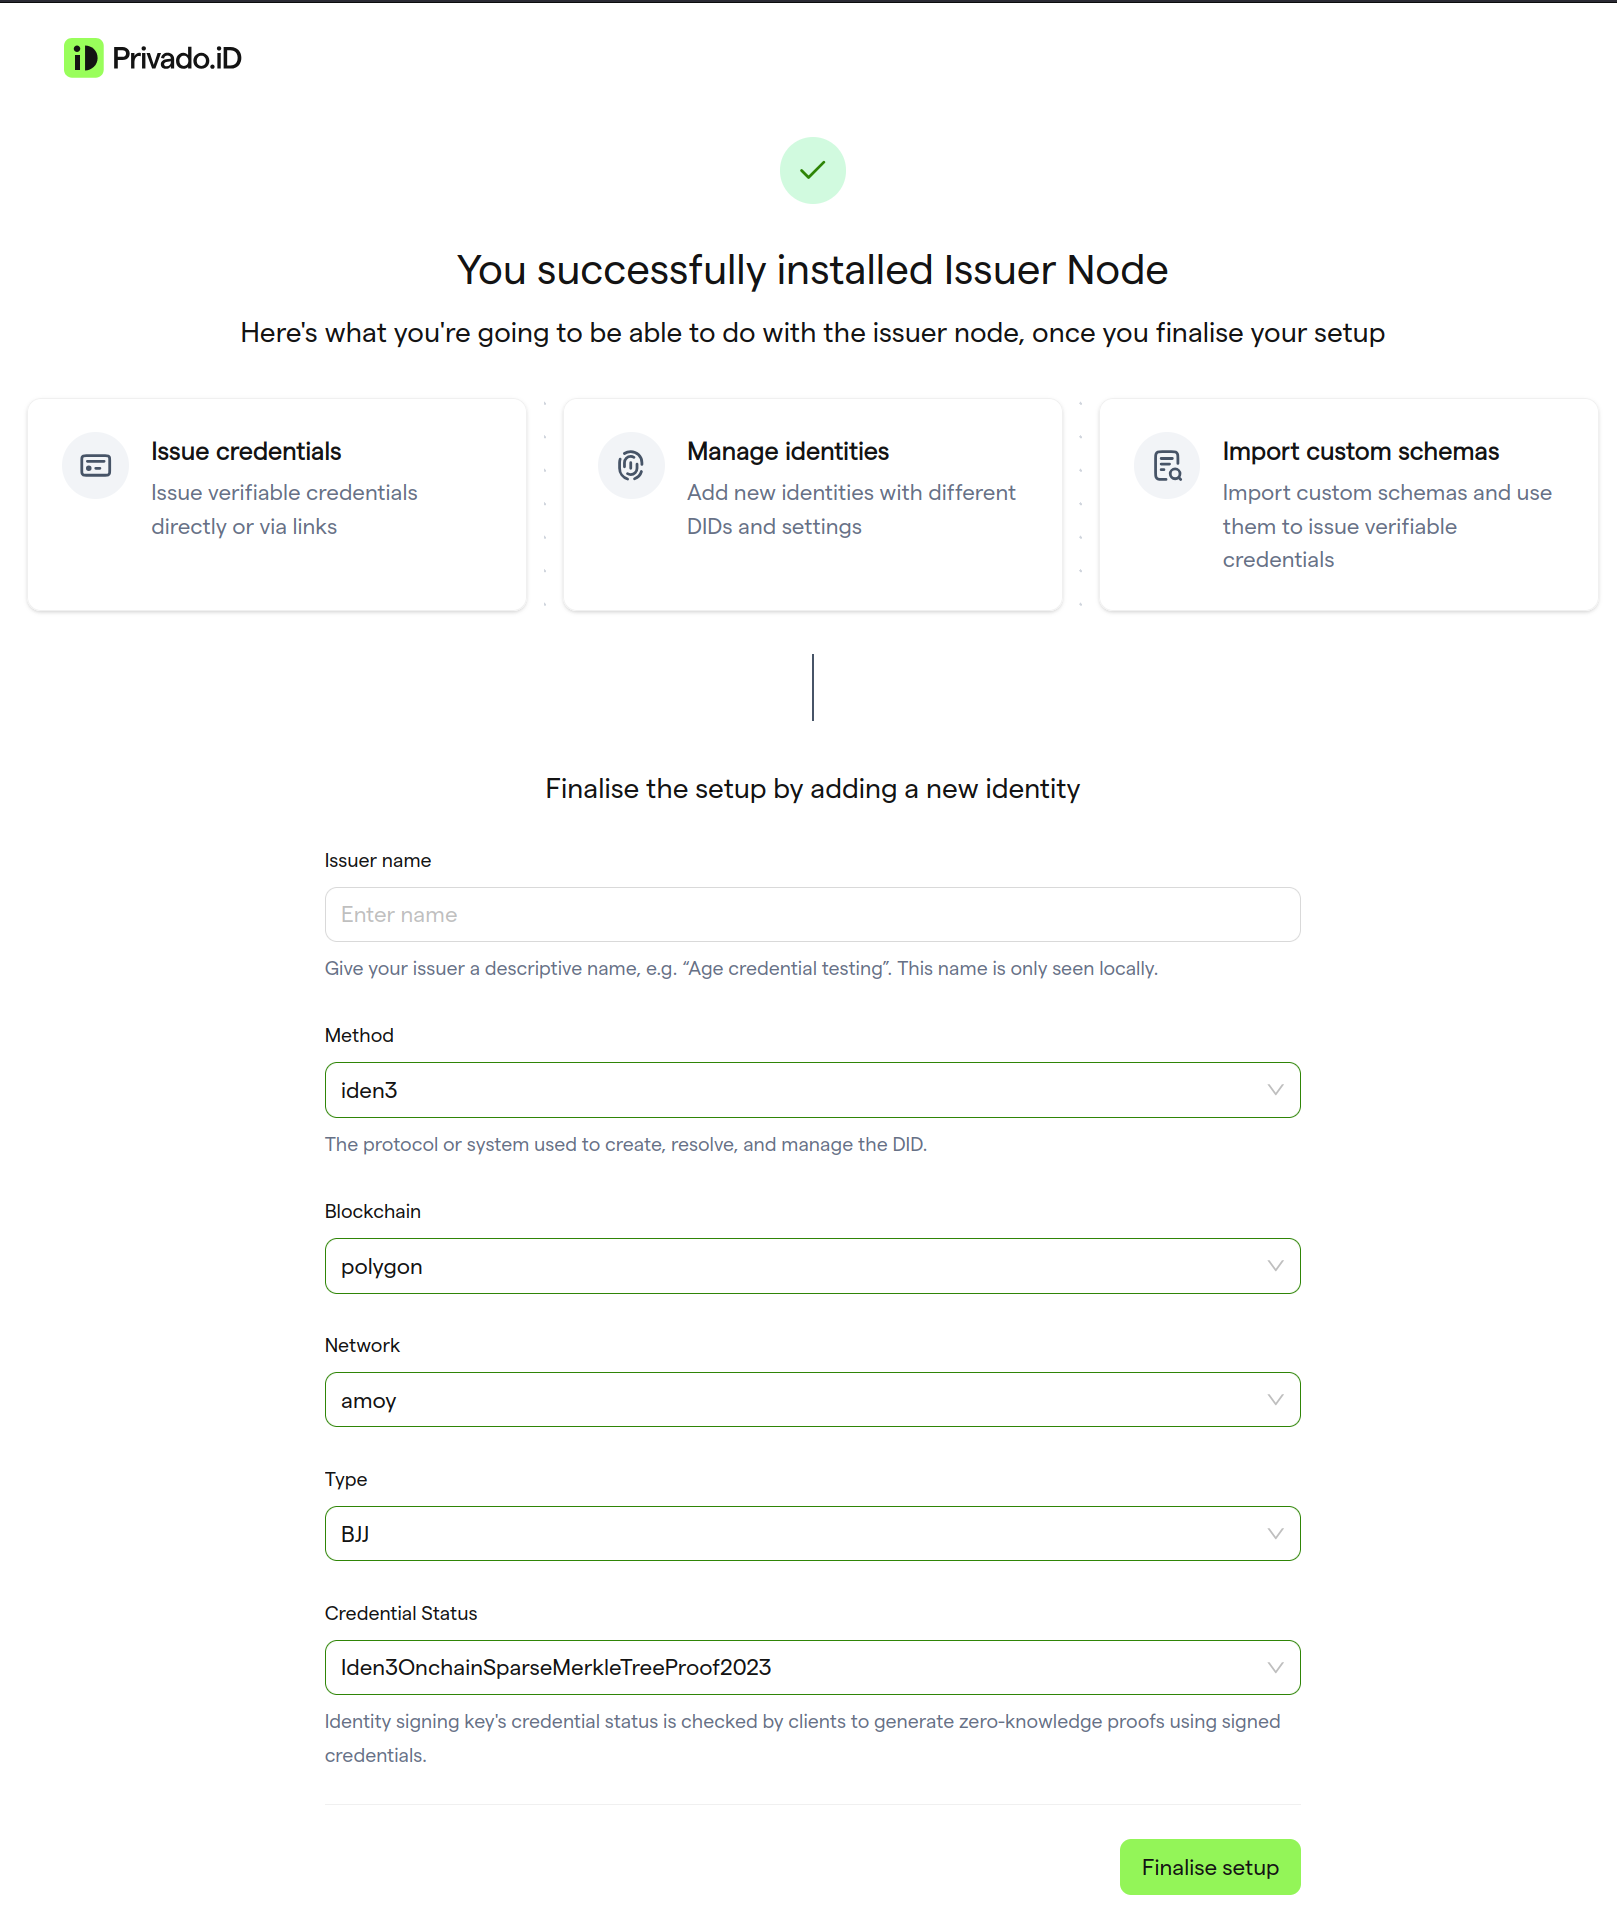
Upon launching the UI for the first time, you'll be prompted to enter the name and details of the identity for your issuer node. Please note that you can create and manage multiple identities for your issuer node through the UI at a later stage.

Related guides:
How to Set Up Issuer Node API Guide